If your oven isn’t heating properly, or your bakes come out overcooked on one side and undercooked on the other, the problem might not be your cooking skills — it could be your oven thermostat.
This small but crucial component regulates the temperature inside your oven, making sure your meals cook evenly. Without a working thermostat, your oven is basically guessing the heat, which can ruin recipes and waste energy.
The good news? Replacing an oven thermostat is a manageable DIY job if you follow the right steps. Here’s a complete guide for beginners.
⚡ Safety First — Before You Start
Appliances are full of sharp edges and live circuits, so safety is key:
- Disconnect the oven from power — unplug it or switch off the circuit at the breaker.
- Wear gloves — the interior panels and metal parts can be very sharp.
- Don’t proceed if you’re unsure — call a qualified technician instead.
🧰 Tools and Materials You’ll Need
- Replacement oven thermostat
- Screwdriver
- Needle-nose pliers
- Wire stripper
- Multimeter (for testing)
- Labels or tape for marking wires
Having these ready before you start makes the process faster and safer.
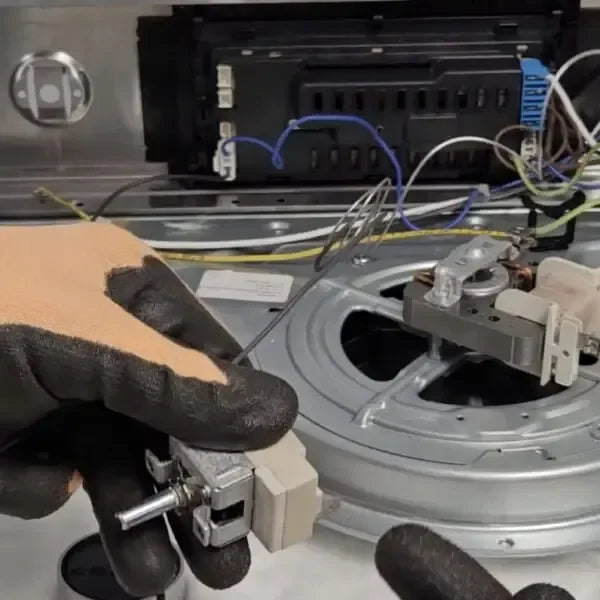
🛠 Step 1: Locate the Thermostat
Most oven thermostats are behind the control panel at the back of the oven.
- You may need to remove the oven door to access the control panel.
- Once the panel is off, you should see the thermostat — it’s usually a small box with wires connected.
🛠 Step 2: Remove the Old Thermostat
- Unscrew the thermostat from the panel.
- Carefully pull it out to access the wires.
💡 Tip: Take a photo of the wiring before you disconnect anything — this makes reconnecting the new thermostat much easier.
🛠 Step 3: Label and Disconnect the Wires
- Use tape or a marker to label each wire according to its terminal.
- Then, gently remove the wires using needle-nose pliers.
- If your thermostat uses wire nuts, simply unscrew and separate the wires.
🛠 Step 4: Test the Old Thermostat
Using a multimeter, check the resistance of the old thermostat.
- If it falls outside the range specified in the manufacturer’s instructions, the thermostat is faulty and needs replacement.
- Even if the resistance seems close to normal, replacement may still be necessary if you’ve been having temperature problems.
🛠 Step 5: Install the New Thermostat
- Connect the wires to the correct terminals on your new thermostat — refer to the labels or the photo you took earlier.
- Secure the thermostat back into the control panel with screws.
✅ Double-check that everything is tight and properly connected before moving on.
🛠 Step 6: Test Before Reassembly
- Restore power to the oven.
- Set a specific temperature and use a thermometer to check if it heats accurately.
- If the temperature is off, some thermostats can be calibrated — check your oven manual for instructions.
Testing before reassembling ensures you don’t have to take the oven apart again if something isn’t right.
🛠 Step 7: Reassemble the Oven
Once the thermostat is working properly:
- Put the control panel back in place.
- Reattach the oven door.
- Plug in the power cord or turn the circuit breaker back on.
Your oven should now be heating accurately and ready for use.
💡 Quick Tips
- Always check the manufacturer’s specifications for the replacement thermostat.
- Labeling wires or taking photos prevents mistakes during reconnection.
- Don’t rush — a careful installation avoids damage to the new thermostat or oven wiring.
